
Blog, English Blog, Fish
Fluval FX2, FX4 & FX6 Canister Filter Maintenance Guide: Tips to Keep Your Filter Running Perfectly
Jun
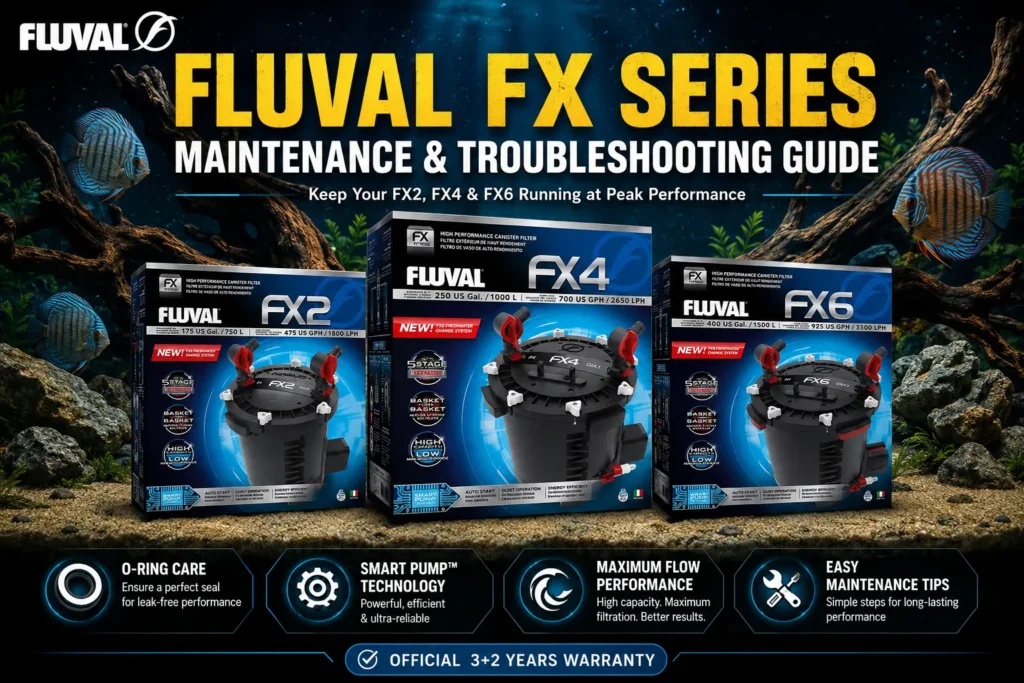
The Fluval FX Series canister filters — FX2, FX4, and FX6 — are the most powerful external canister filters available for large aquariums in India. Built on European engineering with Smart Pump™ technology, these filters deliver world-class multi-stage filtration for tanks ranging from 750 litres all the way up to 1500 litres.
But even the best filter in the world underperforms if maintenance is neglected. The great news is that maintaining your Fluval FX canister filter is straightforward — a handful of consistent habits will keep your filter running at peak efficiency for years, protect your aquarium’s nitrogen cycle, and save you from expensive repairs.
This complete guide covers routine maintenance, media management, and troubleshooting tips for all three FX models. Whether you just bought your first Fluval FX2, are running a Fluval FX4 on a large cichlid tank, or managing a Fluval FX6 on a massive reef setup — this guide is for you.
All genuine Fluval FX2, FX4, and FX6 canister filters sold in India are available at Maple Pets — India’s exclusive authorized importer of Hagen Group brands, backed by the official 3+2 years manufacturer warranty.
1. Clean Your Filter Hosing at Least 2–3 Times a Year
One of the most overlooked steps in FX canister filter maintenance is the hosing. Debris, biofilm, and organic buildup accumulate inside the hosing over time — and when you restart the filter after maintenance, that buildup gets blown directly into your aquarium.
The fix is simple: Rinse filter hosing thoroughly a minimum of 2–3 times a year. This one habit alone prevents a lot of unnecessary clouding and debris spikes after maintenance sessions.
Additional tip: If you move your filter during maintenance — which is common with FX2 and FX4 setups in tighter cabinet spaces — always verify that the rubber anti-vibration feet are properly in place before re-filling the filter. Displaced feet lead to vibration, noise, and unnecessary wear on the unit.
2. Keep Your Hosing Straight — No Loops, No Bends
After reinstalling hosing following maintenance, pay close attention to how the tubing is routed. Any sharp bends, kinks, or loops in the hosing create resistance that reduces flow rate — and with FX filters, flow rate is everything.
The goal is the straightest possible path for both intake and output hosing. This is especially important for the Fluval FX6, which is moving up to 3500 litres of water per hour — even minor restrictions in hosing create a measurable drop in filter performance.
Take a few extra minutes after every maintenance session to check hosing routing. It costs nothing and protects your flow rate.
3. Position the Anti-Vibration Rubber Feet Correctly
All FX Series filters include anti-vibration rubber feet at the base of the canister. These aren’t decorative — they’re functional. When seated properly, they absorb motor vibration and prevent noise from transferring to the cabinet or floor surface.
If your Fluval FX4 or FX6 has started producing a low hum or vibration that wasn’t there before, the first thing to check is whether the rubber feet have shifted or degraded. Reseating or replacing them often solves the issue entirely before you go deeper into troubleshooting.
4. Always Lubricate O-Rings After Servicing
This is one of the most important maintenance habits for any canister filter — and one that causes the most avoidable leaks when skipped.
Every time you open and service your FX canister filter, apply silicone-based O-ring lubricant to all rubber O-rings before reassembly. This prevents the O-rings from pinching, distorting, or cracking during reassembly, which is the most common cause of canister filter leaks.
Critical note: Do NOT use Vaseline or any petroleum-based lubricant on FX filter O-rings. Petroleum degrades rubber over time and will cause the O-rings to swell or deteriorate, leading to leaks. Use only silicone lubricant — it is widely available and inexpensive.
This single tip will save you from the most frustrating canister filter problem there is: a slow leak that ruins your cabinet.
5. Always Use Media Bags for Granular Media
If you’re running granular filter media in your FX2, FX4, or FX6 — such as activated carbon, ammonia remover, or phosphate remover — always place it inside a proper filter media bag before loading it into the media basket.
Without a media bag, granular particles migrate through the basket, enter the pump chamber, and can jam or damage the impeller. An impeller replacement is a preventable expense — a media bag costs a fraction of that.
This is a basic but frequently ignored step, especially when aquarists are in a hurry during maintenance. Make it a non-negotiable habit.
6. Understand Water Flow Direction and Media Placement Order
The Fluval FX Series filters water from top to bottom through the media baskets. This means what goes in the top basket encounters water first — and what’s in the bottom basket is the last thing water passes through before returning to the pump.
Here’s why this matters for media placement:
- Top basket: Coarse mechanical media (foam pads, filter floss) — captures large debris first
- Middle basket: Biological media (BioMax, ceramic rings) — maximum surface area for beneficial bacteria
- Bottom basket: Fine polishing media (fine foam pad, polishing pad) — finest filtration last
Critical rule: Always place your finest media — a polishing pad or fine biological foam — in the bottom basket, closest to the pump. This prevents fine particles from reaching the impeller and causing noise or damage.
Getting this sequence right means your mechanical media catches heavy debris before it clogs your biological media, your biological media has clean water to work with, and your pump is protected from fine particles at all times.
This applies equally to the FX2, FX4, and FX6 — all three use the same top-to-bottom flow principle.
7. Watch for Fine Air Bubbles — Replace Rubber Hose Connectors Annually
If your FX filter starts producing a constant stream of fine air bubbles returning to the aquarium, don’t ignore it. This is a specific and diagnosable issue: the rubber hose connector at the intake or output has dried out or hardened, and is drawing air into the filter circuit.
Air bubbles disrupt filter flow, reduce filtration efficiency, and — at sufficient volume — can cause cavitation damage to the impeller over time.
The rubber hose connectors are inexpensive replacement parts. Replacing them once or twice a year as preventive maintenance eliminates this issue entirely. Regular filter media cleaning and timely replacement also helps prevent excessive air accumulation inside the canister.
If you notice sudden bubble increases after a maintenance session, check that all fittings are properly seated and that no connectors were disturbed during cleaning.
8. Replace Suction Cups Every 6 Months
After 5–6 months of use, you may notice the intake stem on your FX filter shifting position or moving more freely than it did when new. This is normal, expected behaviour — not a defect.
The cause is suction cup hardening. Over time, rubber suction cups lose flexibility and grip, allowing the intake stem to shift. A shifted intake stem affects water intake consistency and, in worst cases, can pull the intake tube completely out of position.
The recommendation: Replace intake suction cups every 6 months as standard preventive maintenance. This is a minor, inexpensive fix that keeps your intake positioned exactly where you set it.
9. Inspect and Clean the Impeller When You Hear Noise
The impeller is the only moving part in your Fluval FX canister filter. It is built to be durable and long-lasting — but it will eventually wear out, and warning signs should not be ignored.
If you notice unusual noise or vibration from your FX2, FX4, or FX6:
- Remove the pump head from the canister
- Inspect the impeller for debris, grit, or damage — a single grain of coarse sand caught in the impeller can cause significant noise
- Clean the impeller and impeller shaft thoroughly
- Replace the impeller bushing — the bushing is a small rubber component that cushions the impeller shaft, and it wears faster than the impeller itself. A spare bushing and bushing removal tool are included with every replacement impeller kit
If cleaning the impeller and replacing the bushing doesn’t resolve the noise, a full impeller assembly replacement is the next step. It’s an easy swap that restores the filter to near-new performance.
Staying on top of impeller inspections — particularly after the filter has been running continuously for 12+ months — is the best way to catch wear before it becomes a failure.
Quick Maintenance Checklist for Fluval FX2, FX4 & FX6
| Task | Frequency |
|---|---|
| Rinse filter hosing | Every 2–3 months |
| Check & clean mechanical media | Monthly |
| Inspect O-rings, apply silicone lube | Every service session |
| Check hosing routing (no loops/bends) | Every service session |
| Replace rubber hose connectors | 1–2 times per year |
| Replace intake suction cups | Every 6 months |
| Inspect impeller & replace bushing | Annually or when noise appears |
| Full media replacement (biological) | Every 3–6 months (as needed) |
Troubleshooting Common Fluval FX Series Issues
| Symptom | Likely Cause | Fix |
|---|---|---|
| Fine air bubbles in aquarium | Dried/hardened hose connector | Replace rubber hose connector |
| Filter leaking | Pinched or dry O-ring | Lubricate and reseat O-ring |
| Reduced flow rate | Kinked hosing or clogged media | Check hosing routing, clean/replace media |
| Noise or vibration | Impeller debris or worn bushing | Clean impeller, replace bushing |
| Intake stem shifting | Hardened suction cups | Replace suction cups |
| Filter not self-starting | Air lock | Plug out, wait 30 seconds, plug back in — Smart Pump™ will auto-purge |
Buy Genuine Fluval FX Series Filters in India — With Full Warranty
Maintenance tips only matter if you’re starting with a genuine product. Grey-market Fluval filters — sold through unauthorized channels — come with no warranty coverage in India, no manufacturer support, and in many cases voltage configurations that don’t match the Indian grid.
Every Fluval FX2, FX4, and FX6 sold through Maple Pets is:
100% genuine — sourced directly from Hagen Group Canada
Covered by the official 3+2 years manufacturer warranty
Supported by India’s exclusive authorized Hagen Group distributor
Shipped free across India with proper packaging
👉 Buy Fluval FX2 in India 👉 Buy Fluval FX4 in India 👉 Buy Fluval FX6 in India